Building a Reliable Solar Setup for Off-Grid Power

A single, silent drop of rain hits a parched leaf in the high desert of Utah. It’s 4:00 AM. You’re sitting in the back of your converted Sprinter van, the only light coming from the dim glow of your laptop. You need to know if your battery levels will hold through the morning fog. This guide covers the mechanics of building a dependable solar power system for van life, overlanding, or remote camping. We’ll look at the math behind solar panels, the hardware you actually need, and how to avoid the common mistakes that leave you sitting in the dark.
Reliable power isn't about buying the most expensive gear. It's about understanding your actual consumption. Most people overbuy or underbuild because they don't track their wattage. If you want to stay off-grid without constantly checking your voltage, you need a system built on math, not guesswork.
What Components Do I Need for a Solar Setup?
A complete solar power system requires four main components: solar panels, a charge controller, a battery bank, and an inverter.
Think of it like a plumbing system. The solar panels are the rain catchment, the charge controller is the faucet that regulates the flow, the battery is the tank, and the inverter is the pump that pushes water through your appliances. If one piece is weak, the whole system fails. You can have the best panels in the world, but if your charge controller can't handle the current, you're wasting sunlight.
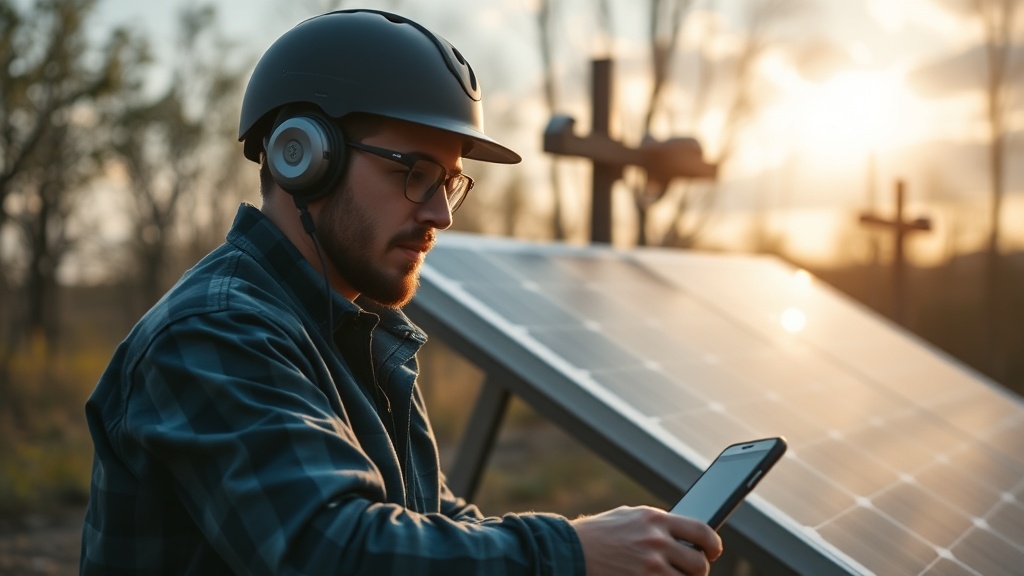
- Solar Panels: These convert sunlight into DC electricity. You'll likely choose between rigid monocrystalline panels (more efficient) or flexible panels (lighter, but less durable).
- Charge Controller: This prevents your batteries from overcharging. I highly recommend an MPPT (Maximum Power Point Tracking) controller over a cheaper PWM version. It's a significant difference in efficiency.
- Battery Bank: This is where your energy lives. Lithium Iron Phosphate (LiFePO4) is the current gold standard for mobile setups.
- Inverter: This converts the DC power from your batteries into the AC power your laptop or coffee maker uses.
If you're looking for reliable brands, check out Victron Energy. Their gear is the industry standard for a reason—it's built to handle the vibrations and temperature swings of a moving vehicle.
How Much Solar Power Does a Van Life Setup Require?
A typical van life setup requires between 200 and 400 watts of solar depending on your appliance usage.
Here's the thing: you can't just look at the wattage on the box. You have to look at your "daily watt-hour" consumption. A small LED light might pull 10 watts, but a portable fridge like the Dometic CFX3 is a different beast entirely. It runs intermittently, but it's a constant draw on your capacity.
To figure out your needs, make a list of everything you plan to plug in. Write down the wattage for each item and how many hours a day you'll use it. Multiply those numbers. That's your daily target. If your math says you need 1,200 watt-hours a day, a 100-watt panel isn't going to cut it—especially if it's cloudy for three days straight.
"The biggest mistake I see is people ignoring the 'cloudy day' factor. You don't build a system for a sunny day in Arizona; you build it for a gray Tuesday in Oregon."
I've put together a quick comparison to show you how different battery types behave under pressure.
| Battery Type | Lifespan (Cycles) | Weight | Cost per Wh |
|---|---|---|---|
| Lead Acid (AGM) | ~300-500 | Heavy | Low |
| Lithium (LiFePO4) | 3,000-5,000+ | Light | High |
| Standard Lithium-Ion | ~500-1,000 | Medium | Medium |
While AGM batteries are cheaper upfront, they are incredibly heavy and you can only use about 50% of their capacity without damaging them. In a vehicle, weight is your enemy. Using Lithium Iron Phosphate allows you to use nearly 100% of the energy you've stored, which effectively doubles your usable capacity compared to older tech.
How Do I Size My Battery Bank?
To size your battery bank, divide your total daily watt-hour consumption by the voltage of your system, then add a safety margin for bad weather.
Let's say you use 1,500 watt-hours a day. If you want to be able to survive two days of heavy rain or thick canopy cover without any sun, you need a 3,000 watt-hour bank. This gives you a buffer. It's better to have too much power than to wake up to a dead fridge and spoiled food. (Trust me, I've been there.)
When choosing a battery, don't just look at the Amp-hour (Ah) rating. It's easy to get confused between Ah and Wh. A 100Ah battery at 12V is 1,200Wh. A 100Ah battery at 24V is 2,400Wh. Always convert everything to Watt-hours to keep your math consistent. It makes the whole process much easier.
There are two main ways to approach this:
- The Modular Approach: Buy smaller 100Ah lithium batteries and add more as you go. This is great for testing your system's limits.
- The Single Large Cell Approach: Buy one massive 300Ah or 400Ah battery. This is often more efficient and uses less wiring, but it's a larger upfront investment.
Worth noting: if you are building a high-power system for a large truck or a heavy-duty expedition rig, you might want to move to a 24V or even a 48V system. Higher voltage means thinner wires and less heat loss, though the components are a bit more specialized.
The catch? Most consumer-grade inverters and chargers are built for 12V. If you jump to 24V, you'll need to ensure every single component in your chain is compatible. It's a common pitfall for beginners.
When you're wiring everything up, don't skimp on the fuses. Every single positive wire should have a fuse or a circuit breaker near the power source. If a wire chafes against a metal van wall and shorts out, a fuse is the only thing standing between a small spark and a vehicle fire. I always use Blue Sea Systems fuses—they're reliable and easy to find.
One last tip: keep your wires short. The longer the wire, the more resistance you create. Resistance means lost energy. In a solar setup, every single watt counts. If you can, mount your battery bank as close to your inverter and charge controller as possible.